|
| Wizard of Oz Scarecrow Display, 2008 |
Hello Friends! Fall is almost here. You can feel it in the air. But, another way to know it's fall around here? Outdoor decor--hay bales, corn stalks, pumpkins, and scarecrows. I live in the Scarecrow Capital of the World--seriously, it's an official record--and every September, residents in our little town set out scarecrows by the thousands. It's quite a sight to see. On the way to my daughter's school this morning, we saw our first scarecrows of this year--three or four motorcycle-riding scarecrows in someone's front yard. Very safety-conscious scarecrows, I might add. I believe they were all wearing helmets. Pretty soon, nary a crow will be found in this town. *~D Fall may not be here officially for two more days, but as far as I'm concerned, it's here now.

Every fall, my daughter loves to go to a big pumpkin patch and pick out a pumpkin to carve. A few years ago, she fell in love with this teeny little pumpkin. It was all she wanted. Now just look at that sweet face. How could we resist? ;) So we got it (and the big pumpkin, too). I think she kept it until it rotted. I love this picture of her.
So, for my card today, I'm using a simple fall image. The humble pumpkin.
 |
| Inside |
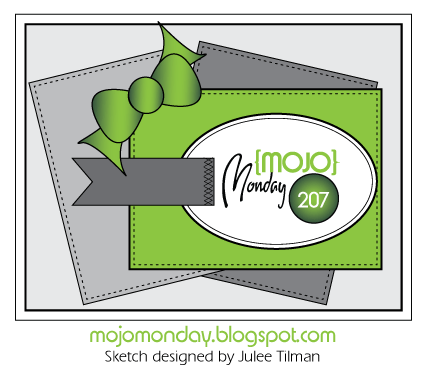
The sketch is the
Deconstructed Sketch No. 19. For some reason, when I was putting the different papers together for this card, I kept thinking I needed some light blue. I tried everything, but nothing felt right, so I ended up just coloring the water under the pumpkin blue, using a light blue and brown ribbon, and I put light blue Liquid Pearls in the corners of the card. I really like these colors together. You may see another card with this color combo in the near future. ;)
One more thing. If you like pumpkin bread (and even if you don't, give it a try--it's delicious), I've got a fabulous, super-simple fall recipe. For extra deliciousness, spread cream cheese icing on a slice!
Well, that's it for now. Thanks for stopping by.
Happy Fall, Y'all!
Stamps: Pumpkin (Michael's); Large Plaid Pattern (Hero Arts); Happy Thanksgiving (Inkadinkadoo)
Paper: Paper Studio
Ink: Tim Holtz Distress Ink; Memento; Colorbox; Copic markers
Dies: Foliage (Spellbinders)
Accessories: Love is in the Air embossing folder (Cuttlebug); ribbon (Michaels); Corner Chomper; Liquid Pearls; Glossy Accents; foam dots
Size: 4-1/4" square
Thanks for visiting my blog!
To have Ink Up delivered to your inbox,
subscribe in the box at the top right of the page.