Showing posts with label card. Show all posts

Our Craft Lounge--April Artist of the Month: Spring Up

Monday, April 9, 2012

Hello, Friends! I hope you had a wonderful Easter weekend, filled with family, worship, good food, and relaxing fun! If you have a little one, I'm guessing that the Easter Bunny made a visit to your house, too. He certainly made his annual stop to our house, to the delight of my DD. She has always loved the Easter Bunny.  We might miss getting a Santa photo on occasion, but we always make a trip to see the Big Bunny! So fun!

I'm back for Week 2 as Our Craft Lounge's April Artist of the Month, and the card I want to share with you today is an Easter card, featuring the cutest little bunny. He's from the stamp set, Hoppin' Into Spring.
To make this card, I first stamped the bunny, then masked him off before stamping the garden at his feet. Don't you just love his little coat? He reminds me of Beatrix Potter's Peter Rabbit.


I used my Copics to color everything, then masked the bunny and garden, hand drew a couple of cloud masks, then used my Copic airbrush to color the sky and ground. When I colored the sky, I used the blunt end of my Copic for a smooth finish. For the ground, I used the brush end of the marker to get a stippled look. I used a gold Pearl Pen to add a button to the jacket, and gave the eggs some sparkle with Stickles. I used a Scoring Board to score lines close to the edges of the image layer. Thanks, Shannon, for that fantastic idea!


For the "dirt," I used Brown Sugar Sparkly Fluff, which is quickly becoming one of my favorite products. I love that it completely covers whatever it is on, and it has just enough glitter to liven up your image without overpowering it. Plus, it is SO soft. I just ordered most of the colors and can't wait to find fun ways to use them!

The purple embellishment on my twine bow is another clay embellishment that I made. I made the mold from a Tim Holtz button. I used white clay, painted it with acrylic paint, then brushed just a little Distress Ink Reinker over that. After it dried, I used my gold calligraphy pen to add a few highlights, then I coated it in a satin gloss finish. It is hot glued on top of the bow.

The sentiment on the inside of the card is from the same stamp set. I added the lines under "you" with a black marker. 

The Hoppin' Into Spring stamp set is great for an Easter card, but one of the things I love about it is that it is really versatile. It includes a spring sentiment about dirt, several gardening images, and an adorable image of the bunny upside down in a watering can. Plus, if you make the eggs white or brown, or even add tiny dimensional flowers over the eggs in the basket, the image I used today could be used anytime, not just for Easter.

Well, that's all for me today. If you're not already a follower of the Our Craft Lounge Blog, you should check it out. They have fun challenges and the Design Team is super talented. And, you can see all the wonderful stamp sets and Sparkly Fluff colors here.

I'll also be entering this card in the Little Darlings Challenge 20: Outside.

Thanks for stopping by! I'll be back tomorrow with a new Tuesday Morning Sketches card. Hope to see you then. 

~Hugs,

 
Stamps: Hoppin' Into Spring (Our Craft Lounge)
Paper: Abrianna (K&Co)
Ink: Copics; Memento; Distress Ink
Dies: Big Scalloped Ovals Sm, Labels Thirteen (Spellbinders)
Accessories: Twine (The Twinery); Sparkly Fluff (Our Craft Lounge); Pearl Pen; Enamel Accents; Liquid Pearls; Stickles; handmade clay embellishment
Size: A2 (4.25" x 5.5")
Thanks for visiting my blog!
To have Ink Up delivered to your inbox,
subscribe in the box at the top right of the page.

Tuesday Morning Sketch Challenge #140: Batches of Fun

Tuesday, April 3, 2012

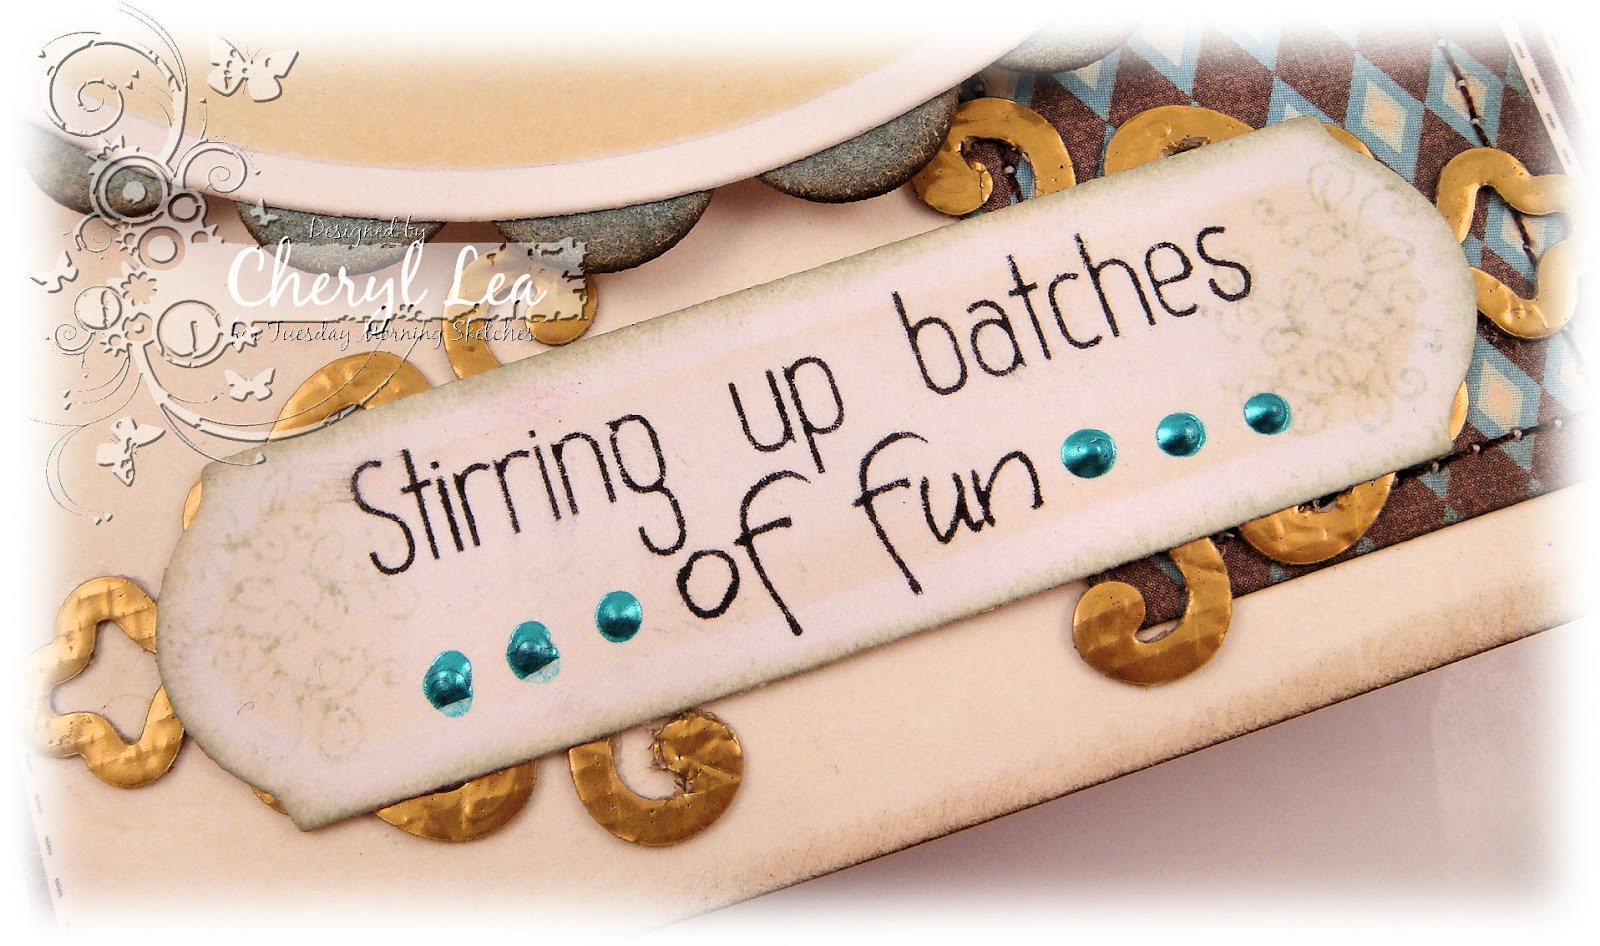
Hello Friends! It's Tuesday Morning Sketch time and we've got Doodle Pantry as our sponsor this week.  They have such fun images. I'm using a set called "Baking Ants" today, with this week's sketch, which is by our own Marie Oberg!


Now, I'll admit, if I walked into my kitchen and saw ants all over my counter, I'd probably go berserk getting rid of them, but this image is super cute. Those pesky little guys look like they are having a blast. The sentiment is part of the Baking Ants set, but I didn't print it directly on the cs. I printed it on a transparency, then rubbed it onto the cs. I could easily have saved the rub-on step if I'd printed it on the cs, but I really like how rub-on sentiments look, versus computer-generated. The gold die cut behind the sentiment is cut from a piece of gold duct tape. 

I used a transparency rub-on for the inside sentiment, too, which is also part of the Baking Ants set.

I hope you'll join us for this week's Tuesday Morning Sketch challenge--it's always so much fun! All the deets are on the TMS blog, and while you're there, check out the amazing creations by the rest of the DT! I can't wait to see what you create!!!

Thanks for stopping by! Have a marvy day!!!

~Hugs!
 
Stamps: Baking Ants (Doodle Pantry); Tiny Flowers & Tags (Flourishes)
Paper: Garden Party (DCWV)
Ink: Copics, Distress Ink
Dies: Std Circles Lg, Ironwork Motifs, Classic Scalloped Circles Sm (Spellbinders); Classic Tags Template (Flourishes/Spellbinders)
Accessories: Pearls; duct tape; Liquid Pearls
Size: A2 (4.25" x 5.5")
Thanks for visiting my blog!
To have Ink Up delivered to your inbox,
subscribe in the box at the top right of the page.
Big Joy

Friday, March 30, 2012

Okay, I'm back, with my second super quick post of the night!

Here's the Viva la Verve sketch for March, Week 4:


And, here's my card:

These are the challenges I'll be entering this card in:


Thanks for stopping by. 

~Hugs!

 
Stamps: Tag Time (Verve)
Paper: Out of Print (Basic Grey)
Ink: Memento; Distress Ink
Dies: Tagged Rectangle Die, Rounded Scalloped Frame (Verve)
Accessories: Bricked embossing folder (Sizzix); mini pom trim (Simplicity); polka dot ribbon (Michaels); rhinestones; Stickles; sewing thread; foam dots
Size: A2 (4.25" x 5.5")
Thanks for visiting my blog!
To have Ink Up delivered to your inbox,
subscribe in the box at the top right of the page.

Dream Big

Hi there, Friends! I've got to get two cards posted in the next few minutes to meet the deadline for the March Viva la Verve Sketch Challenge, so you get a break from my usual ramblings and multiple photos. Bare bones for me tonight.

Here's the Week 3 sketch for the Viva la Verve challenge:


And, here's my card:


I'll be entering this card in the following challenges:


Thanks for stopping by. I'll be back in a few minutes with another card! :)

~Hugs!
 
Stamps: Words of Wisdom (Verve)
Paper: Bright Blossom (SEI); Farmhouse (Crate Paper)
Ink: Distress Ink
Dies: Classy Label Die (Verve); Ironwork Accents (Spellbinders)
Accessories: Damask embossing folder (Sizzix); flower (Prima); glitter (Martha Stewart); brad; sewing thread
Size: A2 (4.25" x 5.5")
Thanks for visiting my blog!
To have Ink Up delivered to your inbox,
subscribe in the box at the top right of the page.

Tuesday Morning Sketch Challenge #139: Hippity Hoppity

Tuesday, March 27, 2012

Hello Friends! With Easter coming up fast, I thought I'd use an Easter theme for my Tuesday Morning Sketch Challenge #139 card. My Creative Classroom is sponsoring the challenge this week. They have on-line arts & crafts courses--and a few are even free!

Jessica George came up with a fun sketch for us this week! 

The stamp set I used is called "Hippity Hoppity," from Our Craft Lounge. Aren't they adorable. There's also a bunny in that set, as well as a few more sentiments. Here's a close up of the three images I used today:
I colored the frog with Copics, then added Stickles for a glittery egg, and Sparkly Fluff on his bunny ears. I'm not sure you can see it in this photo, but I used Glossy Accents on his eyes, too.

I colored the basket with Copics and added some glittery eggs with Stickles.

This little guy is colored with Copics, and I gave him a snazzy, sparkly shell with Stickles.

On the inside of  the card, I glued the strip of dp, that was left over from the front, across the middle of the inside of the card. The sentiment panel is a Curved Rectangle Nestie. I stamped the carrots in a tangerine Memento ink and colored them with Copics. I used a green Sharpie to draw the sprigs on top of them. Wild Honey Distress Ink is sponged along the edges (inside the die).

Be sure to head on over to the Tuesday Morning Sketches blog to see all the yummy goodness the rest of the DT has to share with you, then create your own interpretation of the sketch and link up for a chance to win! I can't wait to see what you create!

I'll be entering this card in the following challenges:
Simon Says Stamp: Bingo (Die cuts, lace, glitter)

Thanks for stopping by, and have a fabulous week!

~Hugs,
 
Stamps: Hippity Hoppity (Our Craft Lounge)
Paper: Mango Frost Stack (DCWV)
Ink: Copic Markers; Memento; Distress Ink
Dies: Labels Two, Nested Lacey Pennants, Curved Rectangles (Spellbinders)
Accessories: Lace (Joann); velvet ribbon (Fancy Pants Design); flower trim (Making Memories); flower brad; foam dots; Sparkly Fluff (Our Craft Lounge); Glossy Accents; Stickles; Corner Chomper.
Size: 6.5" x 4"
Thanks for visiting my blog!
To have Ink Up delivered to your inbox,
subscribe in the box at the top right of the page.

Tuesday Morning Sketch Challenge #138: One In a Melon

Tuesday, March 20, 2012

Hello Friends! It's time for another awesome Tuesday Morning Sketch Challenge (TMS138), and you are going to love this one. Our sponsor this week is The Stamping Boutique, and our own Kathy Curry has created a wonderful sketch, full of possibilities--no matter which way you turn this sketch it looks fab!
I turned it on it's side for a birthday card.
This card was so much fun to make--especially coloring that watermelon with my Copics. It's from the Wild for Watermelon stamp set from Flourishes. And, that scrap of red dp was not only the perfect watermelon color, it also has a "watermelonish" texture in the design. I used the out of the box technique to cut the oval around the watermelon and leave the leaf intact. I stamped the sentiment and some watermelon seeds on another oval and covered the seeds in Glossy Accents, then paper pierced that oval. The fork stamp is from the watermelon set, and I use a D'Vine Swirl embossing folder for the green cs.

After coloring the red part of the watermelon, I dampened a paper towel with colorless blender and laid it gently on it, creating a textured look, then I used Glossy Accents on the seeds.

The inside of the card was originally very basic, however...

...when applying the black Enamel Accent dots to the inside of the card, I got a blob in the upper left corner of the Labels One die cut. I tried to repair it, but soon realized I was making it worse, so I stamped the salt shaker from the same watermelon stamp set, put Glossy Accents on the "glass" and Stickles on the salt, then cut it out and glued it in the corner, and TaDa! No more blob!

To balance things, I stamped one of the watermelon slices, colored it, used the same paper towel technique here that I did on the front of the card, put Glossy Accents on the seeds and glued it in the opposite corner. The green dots behind the salt and slice are from the In Flight stamp set from Our Craft Lounge. The Happy Birthday sentiment is from the Say It Big stamp set, also from Our Craft Lounge.

That's it for my card. But, you can head on over to Tuesday Morning Sketches for more inspiration from the rest of the DT. All the details of the sketch challenge are there.

I can't wait to see what you create!!!

I'll be playing along with these challenges too:
Crazy 4 Challenges 128 (C4C128): Use Green
Do You Stack Up Challenge #63: use your Favorite Color (mine is GREEN!)
Cute Card Thursday Challenge 208: Happy Birthday
Simon Says Stamp Challenge: A Bit O' Green: Use Green
Whimsy Stamps Challenge 30: Emboss It! Wet or Dry Embossing

Thanks for stopping by my blog! Have a wonderful day!

~Hugs!
 
Stamps: Wild for Watermelon (Flourishes); In Flight, Say It Big (Our Craft Lounge)
Paper: Best of K&Co; Que Sera Sera (K&Co); Origins Paper Pad (Basic Grey)
Ink: Distress Ink; Memento; Copic Markers
Dies: Classic Ovals Lg, Labels One (Spellbinders)
Accessories: D'Vine Swirls embossing folder (Cuttlebug); ribbon (Michaels); pearls; Glossy Accents; Stickles; Enamel Accents; paper piercer
Size: 5.5" square
Thanks for visiting my blog!
To have Ink Up delivered to your inbox,
subscribe in the box at the top right of the page.

Mother's Day Butterfly

Hi there, Friends! I hope you had a wonderful weekend. I watched my DD climb her first rock wall--a scary adventure for both of us--but she not only did it, she did it twice! I can tell you, I was one proud mama, watching her.

As for cards, I've been working on some projects for future posts, but I took a little time out to make one for fun, and for a few challenges:


Viva la Verve Sketch Challenge: VLVMar2012 Week2
Crazy4Challenges C4C128: use green
Do You Stack Up DYSU63: use your favorite color
Moving Along With the Times #140: Special Lady
Simon Says Stamp: A Bit O' Green


For the sentiment circle, I stamped the sentiment, then the small butterflies, and added Stickles to the butterflies. The pink and white dots are Liquid Pearls. Can you see the small pink flowers stamped on the pink cs? I stamped those in VersaMark ink to get just a hint of design. I didn't want it overpowering the sentiment. The flower stamp came from the Prickley Pear Mini Birds Clear Stamp set.


I used the Prickley Pear Rubber Stamp Butterfly 2 Clear Stamp Set for the sentiment, small butterflies, and large music butterfly. The small butterflies are covered in Stickles. The large butterfly was stamped with Memento ink, then I used Distress Inks to color it, and I spritzed it with Shimmer Spritz for just a little bit of shine. The edges of the butterfly were sponged with Walnut Stain Distress Ink. For the body of the butterfly, I used a gold Pearl Pen. After it was dry, I folded the curved the edges of the wings down a little bit, added a foam dot to the back of each wing, then glued the body to the card and popped the wings up.

The sentiment on the inside of the card is a Quietfire design. The pink flourish and butterflies are from the Butterfly 2 stamp set.

And, that's it for now. Thanks for stopping by, and have a great week!

~Hugs,

Stamps: Butterflies 2 Clear Stamps, Mini Birds Clear Stamps (Prickley Pear Rubber Stamps); A Mother is She (Quietfire)
Paper: This & That (Echo Park); Mariposa Matstack (DCWV)
Ink: Distress Ink; Memento; Colorbox
Dies: Floral Doily Motif (Spellbinders)
Accessories: Textile Texture embossing folder (Cuttlebug); mini round gems (Recollections); flower (Recollections); foam dots; Stickles; Liquid Pearls; Pearl Pen; Shimmer Spritz; sewing thread
Size: A2 (4.25" x 5.5")
Thanks for visiting my blog!
To have Ink Up delivered to your inbox,
subscribe in the box at the top right of the page.

PPRS March 2012 Sketch Challenge: In Dreams

Thursday, March 15, 2012


Hi Friends! It's Prickley Pear time! Want to have a chance to win a $15 gift certificate to the Prickley Pear store? Okay! All you have to do is make a card based on this sketch, link it to the PPRS blog post by the end of the month, and you're in the running!


In honor of St. Patrick's Day, I used a lot of green in my take on this sketch:

Be sure to stop by the PPRS blog to be inspired by what the rest of the Design Team has to share with you, then create your own card and link it to the PPRS blog post. I can't wait to see what you come up with!

Thanks for visiting, and have a wonderful day!

~Hugs,
 
Stamps: Owl with Bird, In Dreams (Prickley Pear Rubber Stamps)
Paper: Origins (Basic Grey); vellum
Ink: Copic markers; Distress Ink
Dies: Big Scalloped Ovals, Classic Ovals (Spellbinders)
Accessories: Ribbon (Offray); faceted gems; sewing thread; Glossy Accents; Liquid Pearls
Size: A2 (4.25" x 5.5")
Thanks for visiting my blog!
To have Ink Up delivered to your inbox,
subscribe in the box at the top right of the page.

Tuesday Morning Sketch Challenge #137: Lavender Birthday

Tuesday, March 13, 2012


Hi Blog Friends! Here we are back at Tuesday again, and time for another Tuesday Morning Sketch Challenge (TMS#137). This week, Jessica, of There She Goes Stamps, is sponsoring us, and it's also the Judged Challenge, so the added twist is: Monochromatic. 


Check out Melissa's sketch:


And, here's my interpretation:


I stamped the sentiment and cake image with Colorbox ink and set it with my heat gun before coloring with Copics. This card is for my daughter to give to a friend for her birthday, and my DD's one request was that I use a lot of Stickles, so I've used it on the cake and the two little candles in the sentiment to give the card a little sparkle. I wanted to add "pearls," but I think something is wrong with my Violet Pearl Pen. The dark purple dots on the small squares are the Pearl Pen. They wouldn't retain a pearl shape at all--just flattened completely out. I noticed while using it that it was very thin. Guess that one may never work right.


I loaded up the inside with more Stickles, but left most of it clean so my DD can sign it. 

If you'd like to enter two challenges at once, the current TSG challenge is a "Surprise" challenge, which means simply to add a surprising element to your card.  This could be a hidden message or pop up.  If you really stretch your imaginations - this card could really hit that WOW Factor.

Ready to play?  Good!  Because we're ready to see what you do with this.  Have fun and don't forget to go to the Tuesday Morning Sketches blog and link up your creation and leave some love for the team.  Be sure that if you want love left for you to turn off word verification.  And, if you do decide to add the TSG challenge go on over to the TSG blog to link up there, too.

Thanks for stopping by today!

~Hugs,
 
Stamps: Topsy Turvy Cakes (Just Rite)
Paper: Watercolor Bouquet (K&Co)
Ink: Colorbox; Distress Ink; Copic Markers
Dies: Classic Ovals Lg, Classic Scalloped Ovals Lg, Fancy Tags Three (Spellbinders)
Accessories: Dots, Circles & Stars embossing folder (Sizzix); Offray ribbon; metal flowers; Stickles; Pearl Pen; foam dots
Size: A2 (4.25" x 5.5")
Thanks for visiting my blog!
To have Ink Up delivered to your inbox,
subscribe in the box at the top right of the page.