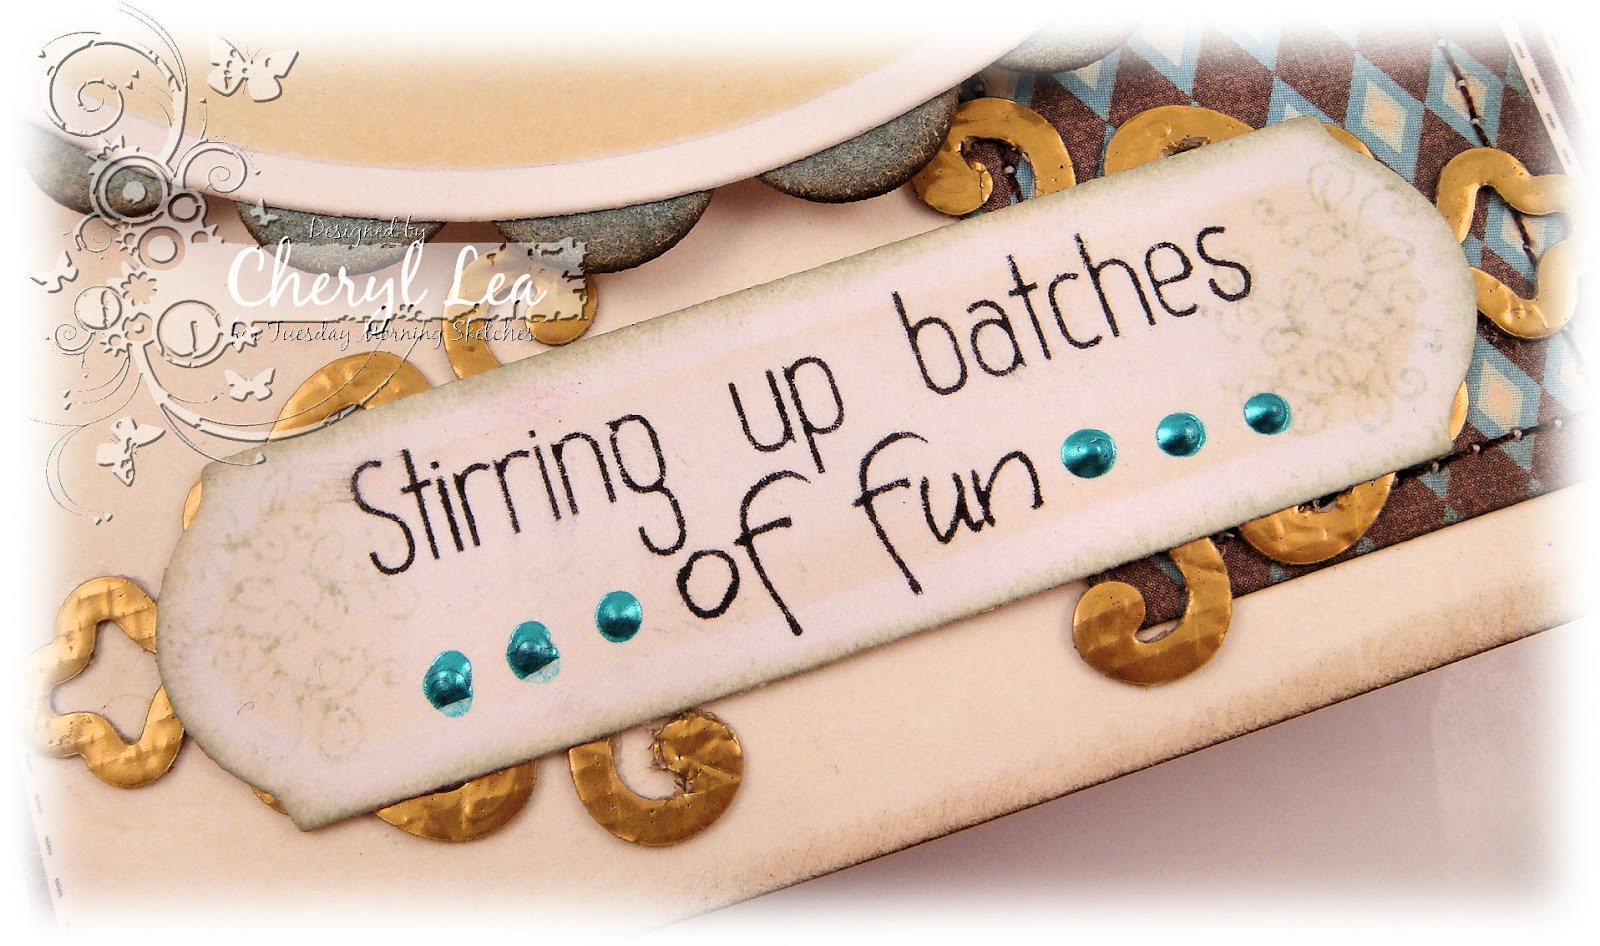
I'm still in need of another nursery wall hanging for one of the babies getting ready to join the family.


I used a Papertrey Ink star die to cut the star, covered it with Stickles, and hot glued buttons to it for my corner embellishment.

Here's a good look at the layers. I think one of the reasons I enjoy making wall hangings so much, is that I can layer them up all I want. I don't have to worry about having to fit it into an envelope!

I glued two pieces of a beautiful yellow digi paper together and die cut six stars. Because I had so many stars to glitterize, I used Mod Podge and glitter to make my own glitter glue for these and covered both sides. They were very lightweight, so I added clear mini round gems to the center of each one, on both sides. Then, I added jump rings in various places on the stars to give them a more random look. I used some nylon beading thread to hang them from the eyelets, and placed three beads on each thread, for aesthetics, and also for a little more weight. It took me quite a while to figure out what to do about the knots and tails that were left after tying off all the stars. I could have just glued buttons over the holes, but this is going to hang on a wall and I wanted it as flat as possible on the back. Then, I remembered that I had just recently purchased button dies from PTI, and my problem was solved--flat buttons! I glued the cs buttons over the eyelet holes on the back before trimming the thread, to help insure that the thread would stay put, then used a craft knife to trim the excess thread.

Here's a look at the entire back of the wall hanging, which will also serve as my card at the baby shower. I typed the sentiment up in Word, printed it on a transparency and rubbed it onto the cs. The Congratulations sentiment is a Flourishes stamp. And, see that cute plaid dp I used for the bg? It's the same dp that I used on the front as the bg for the ant image. This time I just printed it so that the design is larger.
So, see, you can do all kinds of embellishing with this week's TMS sketch, or you can leave it as is--either way, it's up to you! I hope you'll join us this week. And, be sure to check out the rest of the DT's creations, as well as our newest Guest Designer, Iwona "Chupa" Palamountain. You are in for a real treat with this line up!
Thanks for stopping by, and have a crafty week!
I'd like to enter this in the following challenges:
A Blog Named Hero Challenge #11: Who's the Boss? (use embossing)
Paper: Crescent Moon Ants digi paper (Doodle Pantry); The Green Stack, Old World Stack (DCWV); Floriade digi paper (Two Peas in a Bucket)
Ink: Distress Ink
Dies: Classic Rectangles Sm, Fleur de Lis Rectangle; Ric Rac Edgeabilities, Labels Twenty-Five (Spellbinders); Buttoned Up #1, Seeing Stars (Papertrey Ink)
Accessories: Dots, Circles & Stars embossing folder (Sizzix); Zing embossing powder; lace; ribbon; acrylic paint; gold calligraphy pen; nylon beading thread; Mod Podge; corrugated cardboard; chipboard; mini round gems; beads; eyelets; buttons; sewing thread; twine (The Twinery); glitter; Stickles
Size: 5.72" x 5"
Thanks for visiting my blog!
To have Ink Up delivered to your inbox,
subscribe in the box at the top right of the page.